
Mastering Outlook: The Definitive Guide to Canceling Meeting Room Bookings
Okay, hands up, who’s never been in that desperate scramble for a meeting room? I know I have! Seriously, we’ve all been there, right? Trying to find an unused meeting room, only to be met with a system that’s seems purposely built to cause frustration. The worst was when I prepared for a client presentation one time, only to discover another team casually occupying “my” reserved room; it was a disaster. Scrambling for an alternative not only pushed back our start time to the inconvenience of our client. Trust me, effective time management is a life saver.
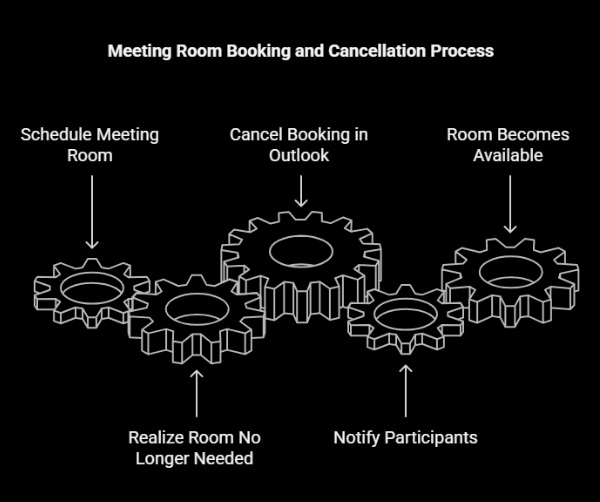
But the good news is it doesn’t have to be like this if we all commit to cancelling meetings when we don’t need the room anymore. In this straightforward guide, I’ll show you the ropes of cancelling meeting room bookings in Outlook, ensuring that those valuable resources are kept available and everyone involved is kept in the loop. A commitment to a streamlined cancellation process is genuinely essential for a productive and efficient workplace.
Understanding Your Role
Before you gleefully click that “cancel” button, take literally 2 seconds to ask yourself: “Am I actually the organizer of this meeting, or just someone who was invited?”. Obvious question, right? But it’s important! Because that determines your level of power in this whole situation, and what steps you’re actually required to take.
Were you the one who fired off the initial meeting invite? Boom! You’re in charge. Otherwise, your cancellation journey is going to be a whole lot simpler. So, first things first, let’s figure out which position you occupy in the digital meeting hierarchy.
Canceling a Meeting Room Booking You Organized
Okay, team leader, it’s time to step up! The responsibility for releasing the room now falls on you. It’s not complicated, promise! Here’s what to do:
- Open Your Outlook Calendar: Find the meeting you want to cancel in your calendar and click on it to open the details.
- Click ‘Cancel Meeting’: Look for the “Cancel Meeting” button in the meeting window. If it’s a repeating meeting, that button might say “Cancel Series”. Click the corresponding button.
- Add Custom Note and Send Cancellation: A window will pop up asking for a message. Do not leave this blank. Just add a brief explanation of why you’re sending this in the first place. Then, click the “Send Cancellation” button. This will remove it from their calendars’ and free up the room for use.
Important: Always send the cancellation notice! If you don’t, the meeting room will remain booked, and you may find people sitting in there ready to meet, and will be met with an unpleasant surprise. Even after sending cancellation, make sure it’s been released! Especially after setting a recurring meeting. Do not hesitate to send the cancellation note twice.
Removing Yourself from a Meeting Room Booking You’re Attending
Alright, so you just need to bow out of a meeting. Simple enough, right? The main goal is to not accidentally cancel the entire meeting for everyone. Trust me, it can happen, and it’s not pretty. Do not go to the meeting and hunt for the “cancel” button, because as an attendee, you wont’ be able to. Instead, find the original meeting invitation. Right-click and select the “Decline” option. You’ll then be given the chance to send a message to the organizer letting them know that you won’t be there. This takes you off the attendee list without messing with the room booking or disrupting the meeting for everyone else. You’re only declining your attendance, not canceling the whole thing. Huzzah!
Canceling a Recurring Meeting Room Booking
Recurring meetings can be a real minefield. I’ve seen users accidentally delete entire meeting series when they only meant to cancel one single instance. Avoid this chaos by paying attention.
When you open a recurring meeting in Outlook and click “Cancel Meeting,” you’ll be asked whether you want to cancel “Just this one” or the “Entire series.” If you select “Just this one,” then it will remove only that one meeting from everyone’s calenders’. If you select “Entire Series”, the room will be freed up for those dates as well. Because of this, make absolutely sure to read twice before clicking. Outlook will give you one last chance to confirm.
Deleting or modifying recurring meetings can cause serious mayhem! Be careful!
Troubleshooting Common Issues
Even with the best-laid plans, things sometimes go haywire. Error message? Don’t freak out! First, the old reliable: close and restart Outlook. You would be surprised how often that works.
If the room stays frustratingly booked even after you’ve sent the cancellation… it might be time to get your hands dirty. you might need to take matters into your own hands. In these cases, I’ve found it necessary to manually delete the meeting directly from the resource calendar. Access the calendar (usually you need specific permissions to do this), find the meeting, and delete it. Only use this as a last resort. However, it will usually work in releasing that room back!
Best Practices for Meeting Room Booking Etiquette
I’ve found that the best teams have a “shared understanding” when it comes to booking etiquette, and it boils down to a few simple rules:
- Cancel When Not Needed: Seriously, always cancel a booking if you don’t need the room anymore. Obvious, right? You’d be surprised.
- Book Only What You Need: No “just in case” padding. Block only the amount of time needed to actually use that room.
- Communicate: Need to make a time change? Update the booking right away.
Basically, just be considerate. Treat shared resources with respect. Your colleagues will thank you for it.
Conclusion
Learning how to cancel meeting room bookings in Outlook may seem like a small thing, but it can have a huge impact on how well the workplace functions. You free up limited resources and give way to more productivity. The proper booking and etiquette skills will show that you also value your coworkers’ time. Shared spaces are essential to the modern hybrid office, so always double check.

